A Practical Guide to Mezzanine Floor Plans
Discover how to design effective mezzanine floor plans. Our guide covers everything from structural integrity and code compliance to workflow....


A well-designed mezzanine floor plan is more than just a sketch; it’s your roadmap to unlocking the vertical space you already own, turning empty air into a productive asset. It's a strategic document that balances load capacity, workflow, safety, and regulatory compliance to make sure the final build is a success from day one.
Starting Your Mezzanine Plan the Right Way
Before you even think about ordering steel, the whole project hinges on a thorough assessment of your existing facility. This is where you move from a good idea to a plan grounded in reality. Getting these first steps right is the single best way to avoid expensive change orders and delays later. It ensures your mezzanine is built on solid ground—both literally and figuratively.

Nail Down Your True Clear Height
One of the first, most crucial measurements is your clear height. This isn't just the distance from floor to roof deck. You have to account for every single thing hanging down from the ceiling.
- Sprinkler Systems: Measure to the lowest point of the sprinkler heads or pipes. Your mezzanine deck has to sit below these.
- HVAC Ducting: Big ducts can eat up a lot of vertical space and dictate where a mezzanine can even go.
- Lighting Fixtures: Don't forget high-bay lights, emergency fixtures, and all the conduit that comes with them.
- Overhead Doors: Make sure the structure won’t get in the way of the tracks or operation of your bay doors.
A classic mistake is measuring only to the roof joists. This leads to plans that are impossible to build without costly modifications to your existing utilities. You’ll need enough room for at least seven feet of clearance under the mezzanine and another seven feet on top of it, plus the thickness of the structure itself (typically 12-24 inches).
Analyze Your Operational Workflow
Where you put the mezzanine is just as important as how you build it. A poorly placed structure creates bottlenecks and adds travel time, undermining the very productivity you’re trying to create.
Walk the floor and map out how materials and people currently move. Pinpoint where an elevated platform adds the most value. For instance, putting parts storage on a mezzanine directly above the assembly lines it feeds can slash retrieval times. It’s also smart to be aware of common planning mistakes in structural additions that can derail a project before it starts.
Pro Tip: Always start with the "why." Is this for bulk storage, a few offices, or a light assembly area? The intended use drives every decision, from where you put the stairs to whether you need a pallet gate.
Evaluate Your Concrete Slab Integrity
Your existing concrete floor has to support the entire weight of the mezzanine and everything you put on it. It’s a common—and dangerous—assumption that any industrial concrete slab can handle the focused point loads from mezzanine support columns.
You absolutely need a structural engineer to verify the thickness and compressive strength of your slab. They might need to check the original building plans or even take core samples for testing. If the slab isn’t strong enough, you'll have to pour new, thicker concrete footings under each column. Don’t skip this step. For those in the early planning stages, our guide on how to build a warehouse offers more detail on these foundational requirements.
Designing for Load Capacity and Structural Integrity
Looks can be deceiving. The real muscle behind any mezzanine floor plan isn’t what you see on top—it's the engineering holding it all up. A mezzanine is, first and foremost, a heavy-duty structure built to handle immense weight. Getting this part wrong isn't just a budget blunder; it’s a serious safety hazard nobody can afford to risk.
This is where we move past simple square footage and get into the physics of weight distribution. Nailing these principles is the key to a design that's both safe and smart with your money. You avoid the two big pitfalls: a dangerously weak structure or a needlessly overbuilt (and overpriced) one.
Differentiating Load Types
Every mezzanine has to handle two completely different kinds of loads. You can't mix them up, because confusing them is how structural failures happen.
Uniformly Distributed Load (UDL): Think of this as weight spread out evenly across the entire floor, measured in pounds per square foot (PSF). It's the standard for general storage, an open office area, or regular foot traffic. For light storage, a typical UDL rating is 125 PSF.
Point Loads: This is the opposite—a huge amount of weight concentrated on a tiny spot. We're talking about the feet of heavy machinery, the posts of a pallet rack, or the wheels of a fully loaded pallet jack. These spots need serious reinforcement directly underneath them.
Forgetting point loads is one of the most common—and dangerous—mistakes I see. Your floor might be rated for 125 PSF overall, but the four small feet of a 3,000-pound machine put way more focused pressure on those spots than the UDL can handle. The structure has to be engineered to transfer that specific weight down through the columns to the concrete slab below.
Calculating Your True Load Requirements
Figuring out what you actually need starts with a full inventory of everything going on that new level. Don't guess. Do the math.
- Storage: Add up the maximum weight of every pallet, box, and product you plan to store up there. If you're using pallet racking, you need the total weight per bay and the exact location of the rack's feet.
- Equipment: Make a list of every machine, conveyor, or piece of heavy equipment. Get its operational weight (don't forget materials it holds) and the footprint of its base.
- People & Traffic: Factor in your team, plus any carts or pallet jacks. While a standard allowance for people is often built into the base UDL, heavy rolling loads are a different beast and need to be calculated separately.
A 3PL warehouse storing automotive parts is a perfect example. A single pallet might weigh 2,500 pounds. A four-level rack holding eight of them creates a point load of 20,000 pounds, all focused on four small baseplates. Your mezzanine floor plans must show reinforced joists and maybe even extra columns right under those spots.
The Impact of Structural Design Choices
Your load capacity is directly tied to the mezzanine's physical design. A few key choices in your plans will determine how it manages and transfers weight. For unique builds with very specific needs, looking into options like modular assembly systems can offer the flexibility to hit precise load and layout targets.
Column SpacingPushing columns further apart creates a nice, open area underneath—great for forklift traffic. The trade-off? Wider spans require much heavier (and more expensive) steel beams to carry the load without sagging. Typical spans fall between 12 to 25 feet. A design with columns every 15 feet will be a lot more budget-friendly than one spanning 25 feet for the same weight rating.
Baseplate DesignThe baseplate is the steel plate at the bottom of each column that bolts to your concrete floor. Its size and thickness are calculated based on the column's total load and the confirmed strength of your existing concrete slab. A bigger plate spreads the load over more area, reducing the pressure on the concrete. Putting an undersized baseplate on a weak slab is asking for trouble.
Seismic ConsiderationsFinally, where you're located matters. A lot. If you're in an area with seismic activity, your structure will need additional bracing, beefier baseplates, and special anchoring to handle the side-to-side forces of an earthquake. These aren't suggestions; they're mandated by local building codes. An engineer will use seismic maps to dictate the right design factors, ensuring your mezzanine stays standing when it matters most.
Navigating Building Codes and Regulatory Compliance
Trying to cut corners on building codes when designing your mezzanine is a recipe for disaster. This isn't just about avoiding a fine or a project shutdown; it's about the safety of your team. The only way to guarantee a smooth, safe installation is to bake compliance into your plans from day one.
When you do this, that complex web of rules stops being a roadblock and becomes a simple checklist. Thinking of these regulations as mere "suggestions" is a huge mistake. Local authorities don't play around, and getting it wrong can lead to costly tear-downs and rebuilds. A proactive approach saves a massive amount of time, money, and stress down the line.

The Critical One-Third Rule
One of the first and most important rules you'll run into is a size limit, often called the "one-third rule."
According to the International Building Code (IBC), a mezzanine can cover up to one-third (about 33.3%) of the main floor's area. Why? The rule ensures the space keeps enough light and air circulation, preventing it from being classified as a whole new story—which would trigger a much stricter set of requirements.
This directly impacts your usable square footage, so you have to do the math early. If your warehouse floor is 60,000 square feet, your mezzanine can't be a single inch over 20,000 square feet. Nail this down first, or your entire layout could be invalid.
Egress and Accessibility Requirements
Getting people on and off the mezzanine safely, especially during an emergency, is non-negotiable. Your plans have to show clear, easy-to-use escape routes.
- Staircase Placement: The number and location of stairs depend on your occupant load and the "common path of travel"—how far someone has to walk before they have a choice between two different escape routes.
- Stair and Handrail Specs: The IBC has very specific rules for stair tread depth, riser height, and width. Handrails also have precise standards for height and grip to make sure they're safe for everyone.
- ADA Compliance: If the public will access your mezzanine or it's part of an accessible route, it must meet Americans with Disabilities Act (ADA) guidelines. This usually means adding a lift or a ramp, which is a major consideration for both your budget and your floor plan.
To make sure you're covered, it's worth brushing up on the specifics of Navigating Building Codes and Regulations. It'll help you avoid common mistakes that can sink your permit approval.
Key Takeaway: Never treat egress as an afterthought. From the very first draft, work with your vendor and a local engineer to ensure every detail, from the width of the stairs to the diameter of the handrails, is up to code.
Fire Suppression and Safety Mandates
Fire safety is another area where codes are incredibly strict. You can't just add a new level without thinking about how it affects your building's existing fire suppression system. It’s a huge red flag for inspectors.
For instance, many warehouses use an Early Suppression, Fast Response (ESFR) sprinkler system. A new mezzanine deck will block those sprinklers completely. In almost every case, you'll be required to extend sprinklers underneath the mezzanine to protect the ground floor.
Your mezzanine floor plans must show these modifications in detail. Your local fire marshal will need to sign off on them, so planning for this from the start saves you from surprise plumbing costs and failed inspections.
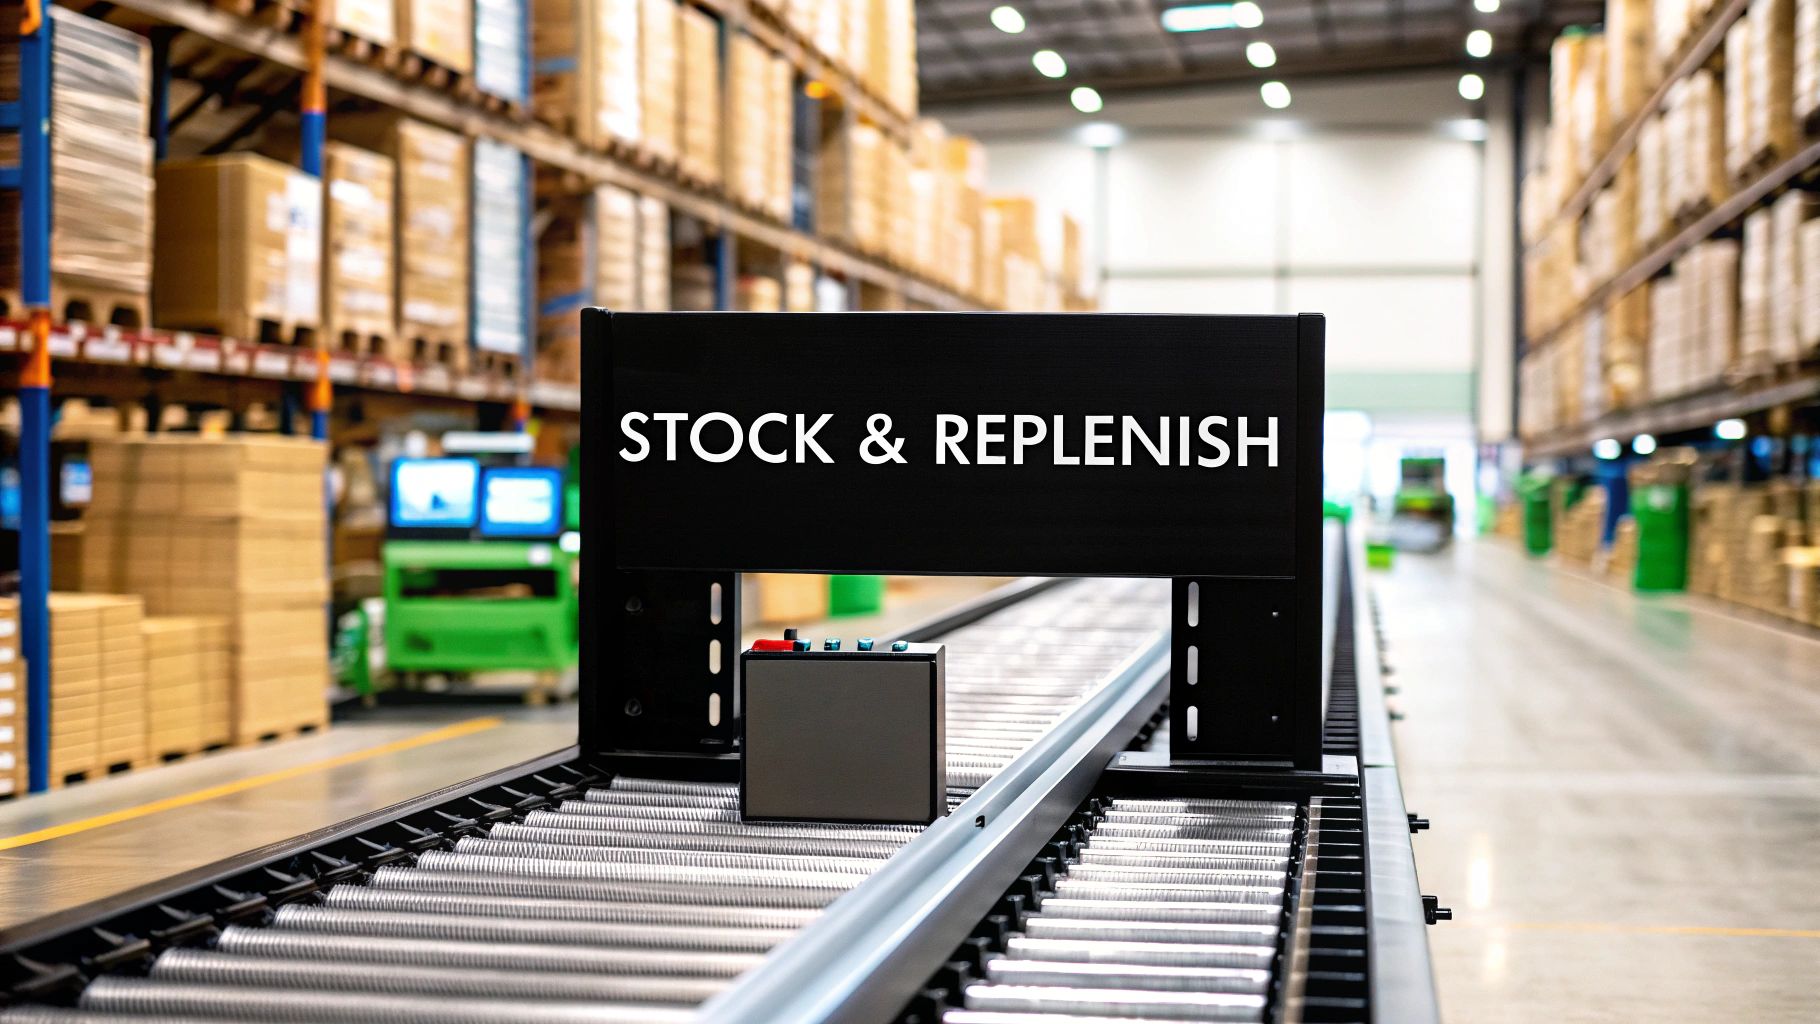
Weaving Workflow and Safety Into Your Mezzanine Plans
A great mezzanine is more than just an elevated floor—it's a seamless extension of your ground-floor operations. The best mezzanine floor plans don't just show where the support columns go; they map out exactly how people, products, and equipment will move efficiently and safely between levels.
When you design with workflow at the core, your mezzanine becomes a productivity multiplier, not just a glorified storage shelf.
This is where the nitty-gritty details of daily use come into play. The placement of a staircase, a pallet gate, or a material lift can either create a fluid, intuitive path for your team or introduce friction that grinds down efficiency over time. A poorly placed staircase, for instance, can easily add hundreds of wasted steps to a worker’s day.
Designing for How Your Team Actually Works
The goal is to make moving between the ground floor and the mezzanine feel totally natural. This starts by looking at your real-world operational needs and placing access points where they make the most sense.
- Staircase Location: Put stairs right where foot traffic is heaviest. If your mezzanine stores parts for a specific assembly line, the stairs need to create the most direct route possible to that line.
- Material Lifts (VRCs): For moving heavy carts or full pallets, a Vertical Reciprocating Conveyor (VRC) is a must. Position it near your receiving docks or main inventory zones to streamline the inbound flow of products to the mezzanine.
- Pallet Gates: Safety pivot gates or sliding gates are non-negotiable for any loading zone. They create a secure barrier, preventing falls while a forklift operator places a pallet. The gate’s location should give forklifts a straight, easy shot without needing complex maneuvers.
Thinking through these access points from the start integrates the mezzanine into your facility's natural rhythm. A well-designed flow is foundational to a productive facility, a topic we cover in-depth in our complete guide to warehouse layout and design.
Optimizing Aisle Width and Storage Layout
Once you’ve figured out how to get material up to the mezzanine, the layout on the deck itself is critical. A classic mistake is trying to cram in as much storage as possible, leaving aisles so narrow they become bottlenecks.
Your aisle width should be dictated by the kind of traffic you expect up there.
When integrating storage like pallet racking or shelving, you have to plan around the mezzanine’s support columns. The smartest mezzanine floor plans use the column grid as the framework for the storage layout, turning potential obstacles into a natural part of the design. A great strategy is to run main aisles parallel to the longest column spans and place your racking perpendicular, using the columns as built-in end caps for the rows.
Pro Tip: Always map out your storage layout before you finalize your column locations. It’s far easier for an engineer to adjust column spacing by a foot or two in the design phase than it is for you to work around a misplaced column that kills an entire row of racking.
Making Safety Features Non-Negotiable
Above all else, a mezzanine has to be a safe place to work. OSHA has strict requirements for elevated platforms, and building these features into your plans from day one is the only way to ensure compliance and protect your team. Cutting corners here can lead to serious fines and, worse, preventable accidents.
Your plans must clearly detail these essential safety components:
- Guardrails: A standard 42-inch high guardrail system is mandatory around all open sides. This must include a mid-rail to stop people or items from sliding under the top rail.
- Toe Plates (Kick Plates): A 4-inch high toe plate must be installed along the bottom of the entire guardrail system. This small but vital piece prevents tools, parts, or other loose items from getting kicked off the edge and falling on people below.
- High-Visibility Markings: The edges of the mezzanine, especially around loading zones and stairwells, should be marked with high-visibility yellow or striped safety tape. This clearly defines fall hazard areas for workers on the deck and forklift operators on the ground.
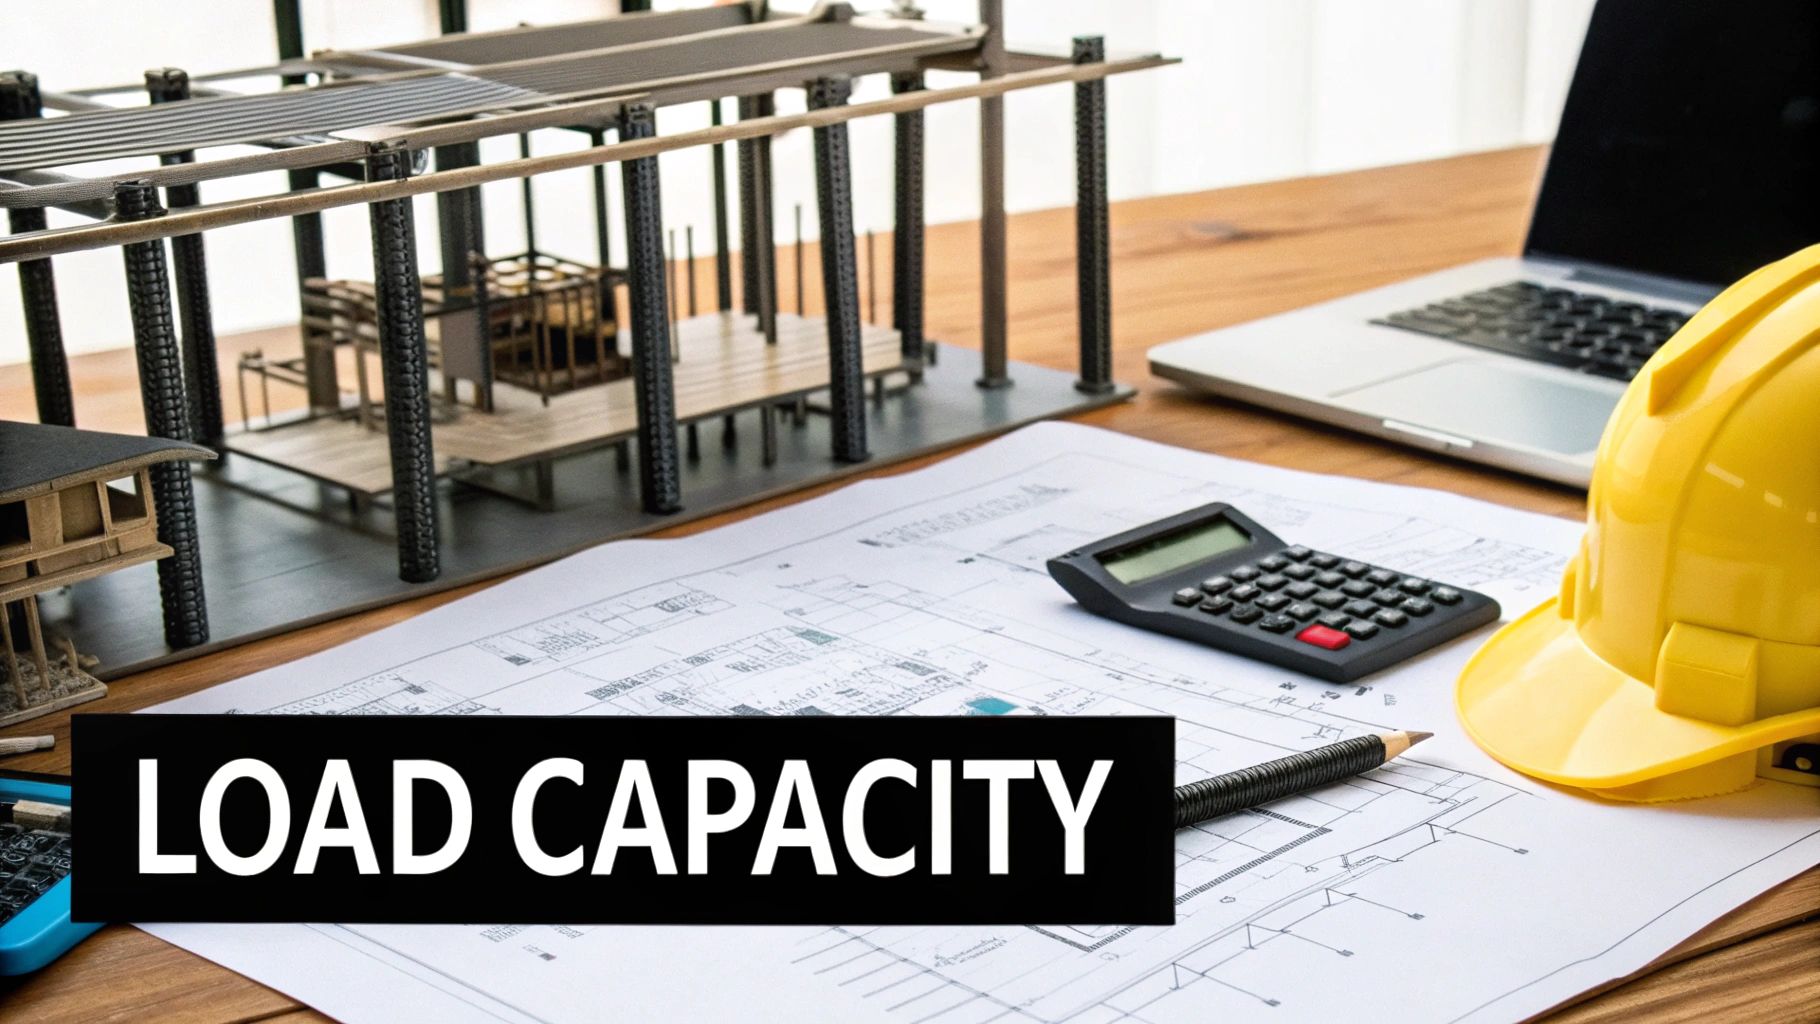
- Load Capacity Signage: A permanent, clearly visible sign stating the mezzanine's maximum load capacity (in pounds per square foot, or PSF) has to be posted. This constantly reminds your team of the structure's limits and helps prevent dangerous overloading.
By weaving these workflow and safety elements into the very fabric of your mezzanine floor plans, you create a space that isn't just bigger—it's fundamentally better, more efficient, and safer for everyone.
Choosing a Vendor and Managing Installation
You’ve got your detailed mezzanine floor plans finalized. Now, it’s time to shift from design to execution. The success of this whole project really hinges on picking the right partner and managing the installation with military precision.
Choosing a vendor is about so much more than the bottom-line price. You're looking for a team with the engineering chops, manufacturing quality, and project management skills to bring your vision to life—safely and without derailing your entire operation. A great partner becomes an extension of your own team, catching potential problems before they happen and keeping you in the loop every step of the way.
Vetting Potential Mezzanine Vendors
Let's be clear: not all mezzanine providers are created equal. You have to dig much deeper than the initial quote to really understand who you're dealing with. A solid vetting process is what protects your investment and prevents massive headaches down the road.
Start by making a checklist of the non-negotiables. Here are the questions you absolutely must ask every potential vendor:
- In-House Engineering: Do they have licensed structural engineers on staff? An in-house team means faster responses to design tweaks and clear accountability for the final stamped drawings.
- Manufacturing Standards: Ask them about their fabrication process. A key question is whether they are AISC (American Institute of Steel Construction) certified. This certification is a huge indicator of quality control.
- Project Portfolio: Ask to see case studies or talk to references from projects similar to yours in size and scope, especially if they’ve worked in the 3PL or OEM space. You need proof they understand your world.
- Installation Team: Are they using their own trained crew or subcontracting the install? In-house teams almost always lead to better communication and a smoother, safer job site.
Expert Insight: Never accept a single lump-sum price. A good proposal will break down the costs for materials, engineering, freight, and installation. It should also spell out material specs, a clear timeline, and payment terms. If it doesn't, that's a red flag.
Mapping Out the Installation Timeline
Getting a handle on the typical installation sequence helps you prep your facility and manage everyone's expectations. While every job is a bit different, the process generally follows a predictable path once the final plans are approved. Knowing this path lets you coordinate with your ops team to keep downtime to an absolute minimum.
This diagram shows a simplified workflow for a typical mezzanine, breaking down how access, material movement, and safety all integrate.
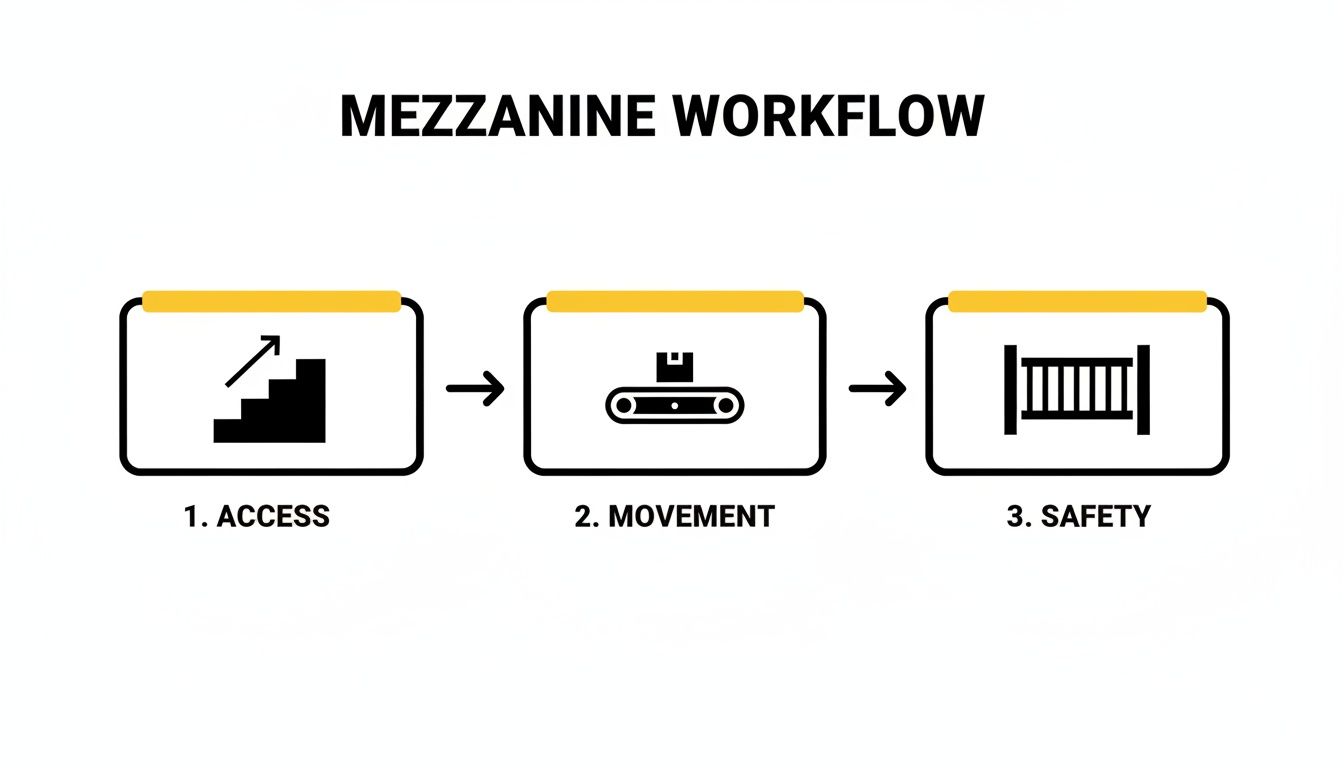
It’s a great visual reminder of how every single component—from the stairs to the guardrails—has to work in concert to create a system that’s both functional and totally secure.
The concept of using elevated platforms isn’t new, by the way. The history of mezzanine floors goes back centuries, but they really took off during the Industrial Revolution in the 18th and 19th centuries. As factories and warehouses grew, advancements in iron and steel construction allowed these structures to support heavier loads over bigger spans. For more on this, check out this great piece on the history of mezzanines from our friends at Holl Installations.
Preparing for a Smooth Installation
Once the parts are fabricated and the trucks are on the way, your job is to get the site ready. A well-prepared site is the single biggest factor in keeping the installation safe and on schedule.
- Clear the Area: The installation footprint needs to be completely empty. That means the area directly under the planned mezzanine and a large staging area nearby have to be cleared of all inventory, equipment, and people. No exceptions.
- Coordinate Schedules: Give your team a heads-up about the installation schedule. You'll need to reroute forklift traffic and pedestrian walkways to keep operations flowing safely around the work zone.
- Final Walkthrough and Sign-Off: After the crew is done and has cleaned up, do a final walkthrough. Grab your approved mezzanine floor plans and use them as a checklist. Verify that every last detail—from the column placement to the railing height—is exactly as specified before you sign off on the project.
Questions We Hear All the Time About Mezzanine Plans
Even with a solid plan in hand, you’re bound to have questions pop up. It’s natural when you’re deep in the details. Getting straight answers to these common questions can save you a ton of time and prevent some expensive headaches down the road.
Here are the top questions we get from facility managers when they start mapping out their mezzanine floor plans.
What’s a Realistic Cost Per Square Foot for a Mezzanine?
This is always the first question, but the honest answer is: it varies. A lot. You should probably budget somewhere in the range of $25 to $75+ per square foot.
That’s a big window, I know. The final number really comes down to the specifics of what you need the mezzanine to do.
- Load Capacity: Are you just storing light hand-picked inventory? A structure rated for 125 PSF (pounds per square foot) is on the lower end of the cost spectrum. But if you’re parking heavy machinery up there, you’ll need a heavy-duty design rated for 250 PSF or more, which means more steel and a higher price.
- Column Spacing: If you need wide, open areas underneath without a forest of support columns, that requires beefier steel beams to carry the load across longer spans. Fewer columns usually means higher material costs.
- Decking Material: Your standard B-Deck with a plywood overlay is the go-to, cost-effective choice for most applications. If you need something specialized like concrete for sound dampening or bar grating for airflow, expect the price to climb.
- The Extras: Don't forget to factor in the other essentials. Your final quote will also include stairs, handrails, pallet drop gates, and any required tweaks to your building’s fire suppression system.
Do I Really Need a Building Permit for This?
Yes. I can count on one hand the number of times a permit wasn't required. A mezzanine isn’t just a big piece of shelving; it’s a significant structural addition to your facility. Your local building authority will absolutely require a permit to make sure everything is designed and installed safely.
Think of the permitting process as your safety net. It ensures a qualified third party reviews the engineered drawings to confirm your mezzanine meets all local building, fire, and seismic codes. Trying to skip this step is a huge gamble that can lead to fines, a tear-down order, and massive liability if something goes wrong.
To get that permit, you'll need a set of stamped engineering drawings. They'll detail everything from the concrete footings to the exact specifications of the guardrails. It’s a non-negotiable part of the process that protects your people and your investment.
How Long Does This Whole Process Take?
From our first conversation about design to the final installation walkthrough, a good rule of thumb is 8 to 16 weeks. Of course, this can shift depending on how complex your project is and how backed up your local permit office is.
Here's how that timeline usually breaks down:
- Design & Engineering (2-4 weeks): This is where we’re on-site taking measurements, running load calculations, and creating the approval drawings for your mezzanine floor plans.
- Permitting (2-3 weeks): This one is out of our hands. The time it takes for the local building department to review and sign off on the plans can vary wildly from one municipality to the next.
- Fabrication (4-8 weeks): Once the plans are officially approved, the steel components head into production to be cut, welded, and painted.
- On-Site Installation (1-2 weeks): The actual assembly inside your facility is typically the fastest part of the entire project.
If you have a particularly complex design or need custom-fabricated components, the timeline might stretch. That’s why it’s so important to get a detailed schedule from your vendor right at the start.
At Wolverine Assemblies, LLC, we know that adding a mezzanine is a major investment in your facility's future. Our deep experience in 3PL, warehousing, and light manufacturing means we understand how to fit a new structure into an existing, busy workflow without causing chaos. If you need a partner who can handle every detail from the first sketch to the final bolt, contact us today.
Subscribe to our weekly newsletter